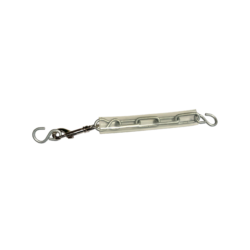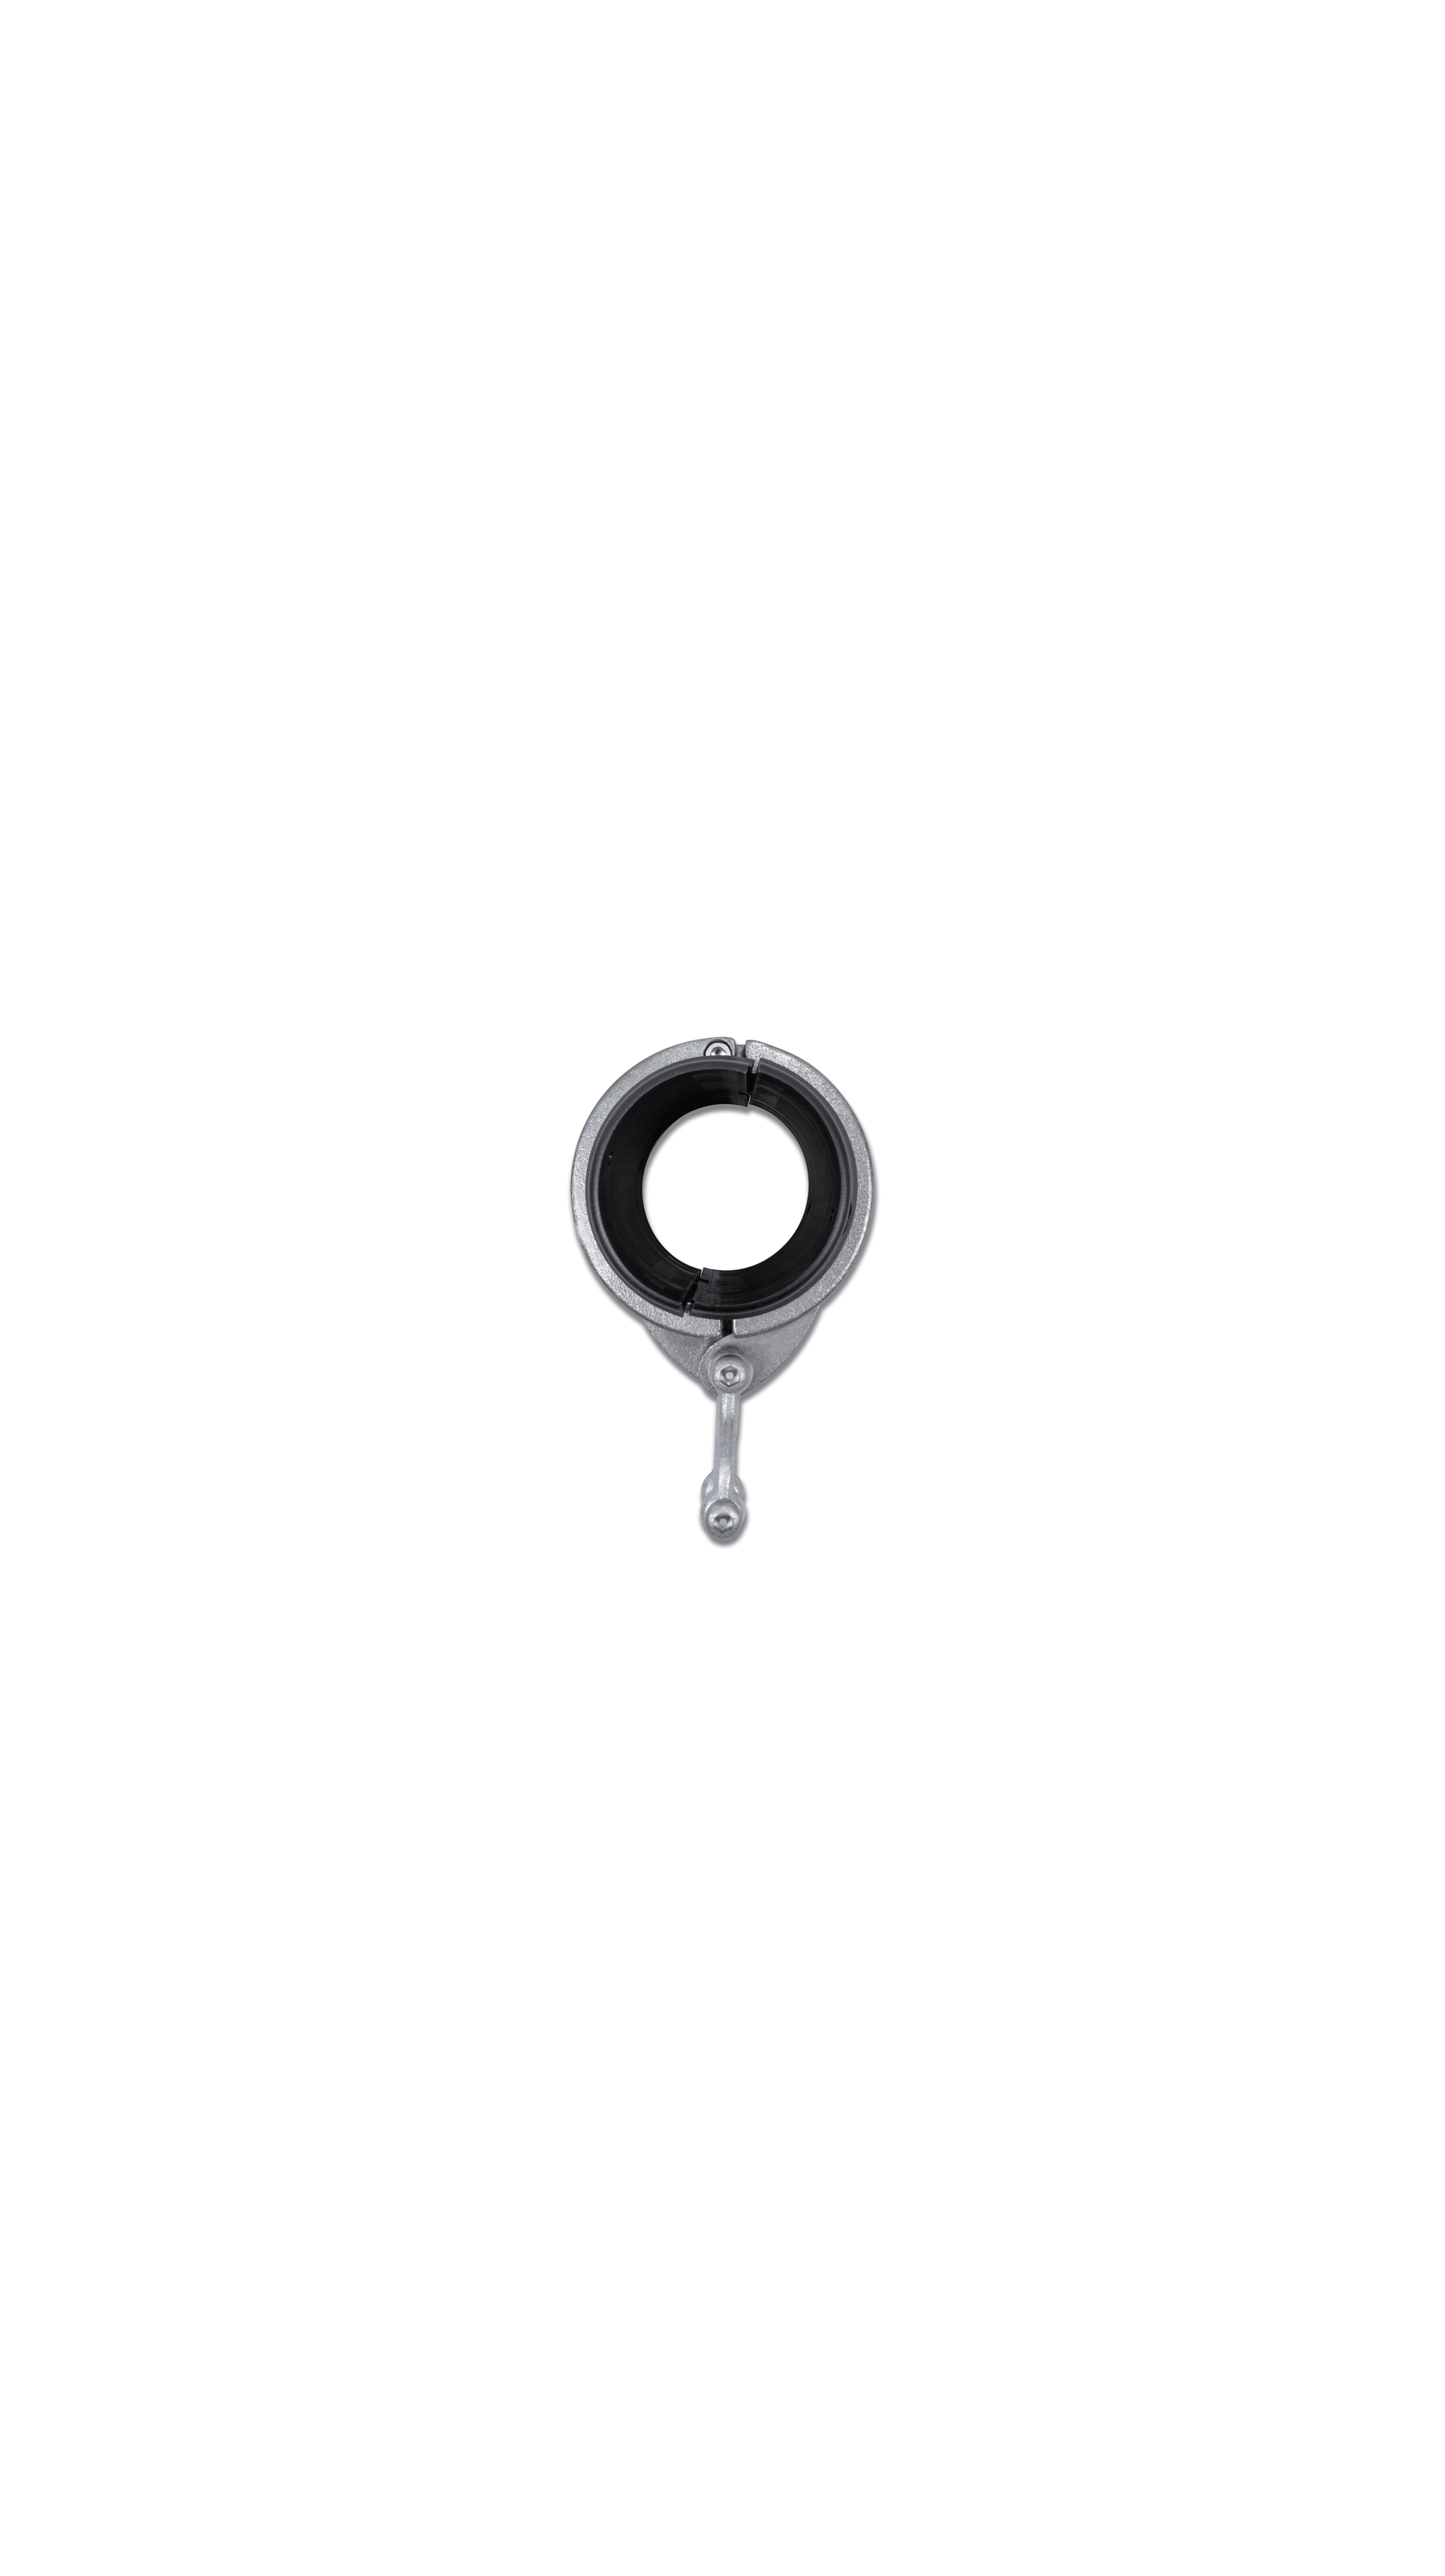


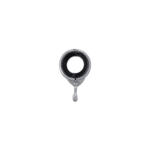
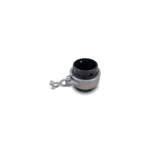
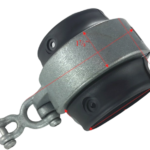
Our redesigned non-wrap swing hangers with shackle pendulum, opening at 1/2″, are now better equipped to meet protrusion regulations. With a smoother top and 3 1/2″ outer diameter, these hangers help prevent swing chains from getting caught on top of play equipment and wrapping around the pipe. This is an important safety feature that keeps stress off the chain and fasteners, and ensures that the motion is where it should be – on the swing hanger. By reducing friction, the hangers also help prevent premature wear of the chain and fasteners.
Our non-wrap swing hangers are easy to install and can replace regular swing hangers without requiring dismantling of the entire play equipment. Made of durable galvanized steel and a nylon sleeve, they feature a w/.393 ID oil light bearing and can be used with 3″ schedule 40 pipes with a 3 1/2″ outer diameter and 11″ circumference. It’s important to not torque them more than 25ft-lbs. during installation.
Under optimal conditions, this product can last up to 5 years, though harsher conditions may require replacement sooner. With a tensile strength of 9960 lbs., our non-wrap swing hangers are built to withstand heavy use and ensure safety while providing a fun swinging experience for children.
**Installation, Safe Use and Maintenance Instructions**
IMPORTANT: Please read for important information. In this material we have tried to provide some requirements stated in the CPSC Handbooks, ASTM F2373-11, F1487-11 and F1148-09. However, we in no way intend for this to be a complete list of requirements. Also these publications are updated frequently with changes, therefore, you should read these publications yourself to determine if any part or installation could prove a danger to a child.
To help keep children safe from harm, review installation and maintenance instructions before installing equipment. These are located in the description of every product on our website. www.americanswing.com Download and print these instructions and keep in a safe place. Our website also has a “Product Testing Information” page. All products are tested for lead, phthalates and tensile strength. You can also call us at 1-800-433-2573 for more information or see https://www.cpsc.gov/cpscpub/pubs/325.pdf.
Installation: Our parts are sold as either replacement parts or components of a set, unless you are buying our Metal Frame Set, therefore these parts need to be installed according to the sets installation instructions. If the installation instructions differ from ours please contact us at 800-433-2573.
This hanger is made for a schedule 40 3” I.D. pipe which is 3 1/2” O.D. Determine spacing of swing hangers on pipe by consulting either Figure 23, Table 7 for commercial swings, or for residential sets see spacing dimensions for ASTM 1148 diagram. Mark pipe with correct spacing. Remove H-Shackle by using our A5750 wrench with a pin hole to remove the tamper proof bolt. Open the swing hanger into half. Then, remove plastic collar. Place plastic collar on pipe. Match up alignment tabs. Make sure that both halves are aligned. Using a 3/16 drill bit drill four holes into pipe where you wish the swing hanger to be placed. Screw in one #12 self tapping screw into the plastic insert and make sure that the hanger inserts align properly. Then screw in the remaining three screws. Put the steel hanger around the plastic collar. Attach the hanger around the plastic sleeve by inserting the h-shackle. Insert the tamper proof bolt using a wrench with a pin hole after putting Medium Blue Loctite on the bolt threads to prevent it from backing out. Check spinning action to make sure there is no binding, and using a grease gun put a sufficient amount of standard grease into the plastic sleeve through the grease fitting.Just push down on the spot and you will see the grease come out when it is full. We have used a McKay Molybdenum Disulfide grease cartridge, but any standard grease cartridge from any auto part store should be sufficient. Unscrew bolt, put last link of chain on bolt and then screw bolt back in using the H175 wrench. Check that the bolt is attached with no more than 2 threads showing beyond nut.
Protective surfacing that meets ASTM F1292 must be installed under swing set and extends at least six feet from the sides of the set and twice the height of the top bar in the front and back of swing set. Protective surfacing is one of the most important things that you can do to reduce the likelihood of serious injuries.
The new CPSC standard states the owner/operator of the swing set needs to post warning signs outside the use zone that are readily visible to the intended viewer and alert them to the potential hazard in time to take appropriate action. This message may be on either a sign or label outside the use zone. Signs should be posted that state the appropriate age group for the swing set. Not for Adults. Adults should supervise children at all times. Do not allow children to stand on or use unsafely. Do not allow set to be used if damaged. Remove helmets, drawstrings or accessories around the neck which are all known to create head entrapment or entanglement hazards. Where applicable, Hot play surfaces are known to reach temperatures high enough to cause serious burns to children generally less than 4 years of age.
Specifications for all warning signs or labels should conform to ANSI Z535.1 and ANSI Z535.1 or ANSI Z535.1 in the following areas: legibility, type of lettering, clarity of message and symbol, color specifications and work message and visibility. The labels or signs should be durable and conform to UL 969. It has been and continues to be the responsibility of the owner/operator to replace signs or labels or both should they become illegible, destroyed or removed. Signs can be purchased at https://www.mindspring.com/~safetyplay.
Safe Use: This is for children 0 – 12 years old only. Adults should supervise children at all times. Do not allow children to use unsafely. Do not allow it to be used if damaged.
Maintenance: At beginning and end of each play season and once a month during play season, check for sharp edges and/or cracks in hanger, paying particular attention to plastic collar. It should also be determined at this time whether more grease should be added to maintain the swing hanger to move freely. Check to see if H-shackle is worn or cracking. Check that tamper bolts in shackle are tight. When shackle is worn or cracked, replace shackle. Check that self tapping screws in sleeve are not missing or loose. Check for vandalism. Replace parts if necessary. Maintain detailed inspection and maintenance records for public-use playground equipment.
Any damage from vandalism, abuse or misuse VOIDS all warranties.
SKU#A2026